unfold summary fold up summary
- Creating an online shop on Shopify
- The issue of online payments on Shopify
- The payment systems tab on Shopify
- How do I add a payment method to Shopify?
- How do I enable alternative payment methods on Shopify?
- How do I add manual payment methods to Shopify?
- The payment tab
- The issue of fees on transactions with Shopify
Shopify is becoming the most popular CMS for merchants to create and manage their online shop. This is understandable, as it is a very comprehensive tool, offering a wide range of features and settings to allow you to customise your e-commerce site. Amongst other things, Shopify gives you access to several payment methods and allows you to configure them through different options to make your life easier. Want to know what online payment solutions are available on Shopify? Want to know more about the best way to set up your payment methods for your online shop? To answer all these questions, I suggest you check out this detailed guide on the subject.

Creating an online shop on Shopify

Before you can think about setting up payment methods on Shopify, you must first create your online shop. This is because the payment options on this platform only appear after the shop has been created. You should therefore make sure that you create and configure your Shopify e-commerce site properly, so that you can publish it and offer your products to your customers. Find out more aboutfree trial Shopify and Shopify 1$ during 90 days !
To do this, I advise you first of all to create your company from a legal point of view. You can choose different statutes depending on the number of partners or your future objectives in relation to your activity. In this respect, you will find certain legal statutes that offer quite specific and particularly interesting advantages.
Make sure you make the right choice, and you can set up your business so that it is legally recognised. Only then will you be able to set up an online shop to sell products and issue invoices to your customers legally.
To read Méthode Kraken de ENZO HONORÉ avis > Développez votre Empire E-commerce
Once the business is created, you can go to the Shopify CMS to create the online shop. At this stage, you will need to choose a theme and customise it, define your brand's graphic charter, create a logo, write the site's legal notices, etc. Only then can you think about putting your products online on your Shopify shop. Don't forget to write the product sheets and include photos for each item, to have a better chance of making sales.
The issue of online payments on Shopify

Once your Shopify online shop is created, after all the necessary steps to set up the site and configure it, you can finally move on to the payment settings phase. For this step, you will of course need to log in to your admin interface.
Then go to the general settings of the e-commerce site. The page that appears offers you three columns, with different tabs to select according to the settings you wish to make. You will find the "payment systems" and "payment" tabs. To effectively set up payment methods on your Shopify online shop, you need to know and understand what each of these tabs consists of.

The payment systems tab on Shopify
In this section you can manage the different payment service providers on your e-commerce site. You can also use this area to configure the payment methods you accept in your online shop.
In other words, it's in this 'payment systems' tab that you'll have to choose which payment service your customers can use when placing an order on your site. One of the great things about Shopify is that you have over 100 payment gateways to choose from.
To read Comment créer votre boutique en ligne efficacement avec Shopify?
Among the most popular payment services for merchants and customers are Mollie, paypal, verifone, payplug, stripe, etc. To give your customers who do not have a credit card the possibility of making purchases on your site, you can add other payment methods. There are alternative payment methods available on Shopify, including Amazon pay, apple pay, and direct payment via paypal.
To go further, and to include a maximum of potential customers, I advise you to also add crypto-currency payment methods. You will find providers such as bitpay, gocoin, coinbase commerce, etc. Finally, to expand the number of potential customers, consider including manual payment methods as well.
This includes payment by bank transfer, payment by cheque, or cash on delivery. All of these options allow your customers, regardless of which payment method is most convenient for them, to easily make their purchases from your online shop.
How do I add a payment method to Shopify?
If you want to add a payment method to your Shopify shop, you need to go through the admin interface. As mentioned above, you need to go to the settings, and then select the "payment systems" tab. There, in the "third-party provider" section, select the "choose a third-party provider" option.
You will then see a new window open, suggesting that you choose stripe as your payment provider. This would probably be an excellent choice, as many merchants on Shopify use this provider for their payments. If this doesn't work for you, click on the "view all supported providers" link.
This will give you a list of the different payment providers on Shopify, from which you can choose the one that suits you best. So select your payment solution provider, and then enter your account credentials for it.
Finish by clicking on "activate". I would like to remind you at this point that you can only have one provider at a time for card payment services. So make sure you make the right choice, preferably one that offers you a maximum number of payment services.
To read Pourquoi Shopify est-il une solution SEO réellement optimisée ?

How do I enable alternative payment methods on Shopify?
If you want to add alternative payment methods to your Shopify account as well, you'll need to go through a few steps. First of all, you need to go to the settings, and click on "payment systems". Choose the 'alternative payment method' section, and then select the 'choose an alternative payment method' option.
You will see a list of providers to choose from. As explained earlier, here again you need to provide your account credentials for the provider you have chosen. You will then see the 'enable' button, which will allow you to authorise that provider.
How do I add manual payment methods to Shopify?
As you can imagine, despite the great success of online sales sites, there are still some people who find it difficult to trust computer tools. These people are reluctant to give their bank details to a website, which makes it difficult to use the payment methods mentioned above.
In order not to lose this part of the consumers likely to make purchases on your site, I advise you to provide manual payment methods. The one that seems to offer the most guarantee to customers is payment on delivery. You can also include payment by cheque or bank transfer.
Thus, customers using one of these manual payment methods for their order will not have to pay for the order online. The status will be marked as "unpaid" on your shop. It will therefore be up to you to manually adjust the status once the payment is received. If you are interested, the steps to follow for adding manual payment methods are as follows:
- Go to settings and "payment systems".
- Choose the "manual payment methods" section and click on one of the options offered between payment on delivery, bank transfer or postal order
- You will then see an "additional details" tab in which you will have to enter the information to be displayed for this payment method when the customer checks out
- Finally, in the "payment instructions" tab, enter the different instructions to be followed by your customers when paying for their order.
The payment tab
In this section of your Shopify account settings, you will be able to customize the checkout process on your online shop. Customisation here can be done not only visually, but also functionally. For example, you can first customise the graphic style of your checkout page.
To read Quelles sont les dernières avancées majeures de Shopify en 2024 ?
Here you can add your brand or sign logo, change the background colour, change the font and text, etc. Whatever you choose, just make sure you get a payment page that is in harmony with your brand's graphic identity.
This way you can reassure your customers that this is the payment page of your shop. Afterwards, you will have access to several other options, which can help you to define the rules for the ordering process in your shop yourself.
For example, it will be up to you to decide whether customers must create an account before placing an order, or whether anyone who visits the site can buy your products. For my part, I strongly advise you to opt for an optional account opening.
Otherwise you risk losing the opportunity to make sales to customers who may not have the time or inclination to create a customer account. Also consider including forms to obtain either an email address or a phone number to contact your customers who do not have an account with you.
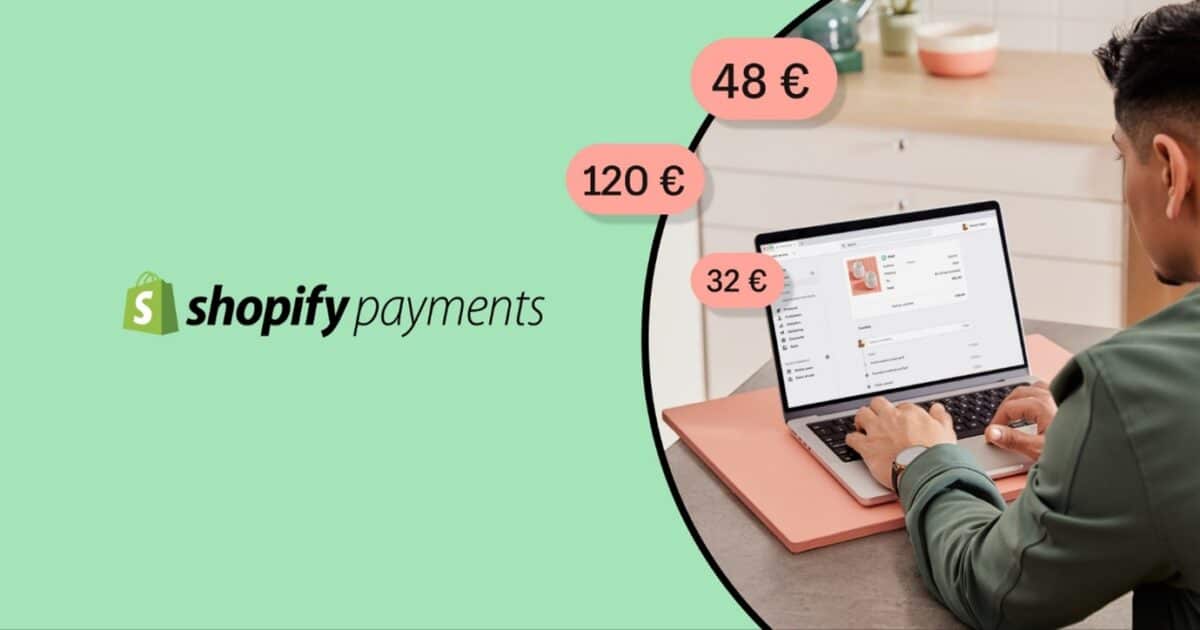
The issue of fees on transactions with Shopify
I could not end this guide without talking to you, even if only in a few lines, about the issue of transaction fees on Shopify. You should probably be aware that this CMS applies fees to the transactions carried out on your shop. These fees are separate from the commissions payable to the payment solution provider. A rate called the Shopify flat rate is applied, which allows the company to recover a certain amount from each purchase made by your customers. For manually paid orders, however, you will not have to pay this fee.
As you can see, Shopify offers several online payment options for you to choose from when setting up your shop. Make sure you make the best choices here, so that your customers feel confident and your chances of growing increase at the same time.